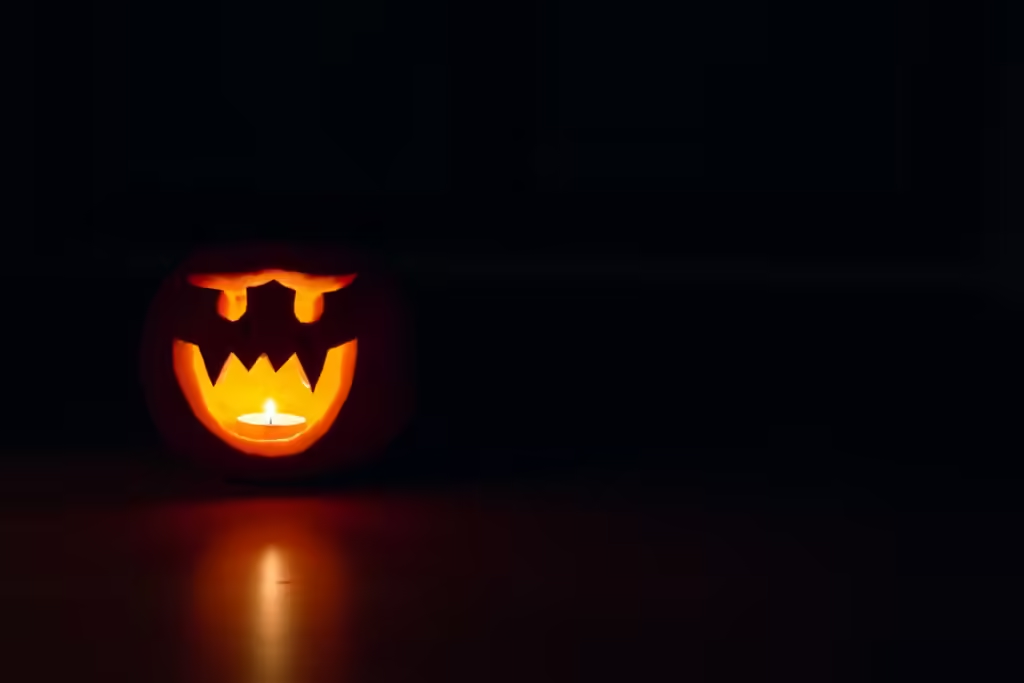
Pumpkin painting has exploded in popularity in recent years as a fun and creative alternative to the traditional art of pumpkin carving. While carving pumpkins is a beloved Halloween tradition, it can be messy, time-consuming, and challenging for those without advanced artistic skills. Painting pumpkins, on the other hand, offers a versatile and accessible way for people of all ages and skill levels to showcase their creativity and add a festive touch to their holiday decor.
The beauty of pumpkin painting lies in its versatility. From spooky jack-o-lantern faces to intricate patterns and designs, the possibilities are endless. Unlike carving, which requires specialized tools and techniques, painting pumpkins is a relatively simple process that can be enjoyed by both children and adults. It’s a perfect family-friendly activity that encourages creativity, bonding, and the creation of unique, one-of-a-kind pieces of art.
Whether you’re a seasoned artist or a complete beginner, the pumpkin painting ideas blog offers a canvas for self-expression and a chance to let your imagination run wild. With a few simple supplies and a little bit of inspiration, you can transform an ordinary pumpkin into a masterpiece that will be the envy of your neighbors and the talk of your Halloween party.
Disclaimer – The images provided in this article are for illustrative purposes only and may not precisely represent the ideas described. They are intended to inspire and provide general concepts, not exact depictions.

Classic Spooky Pumpkin Faces
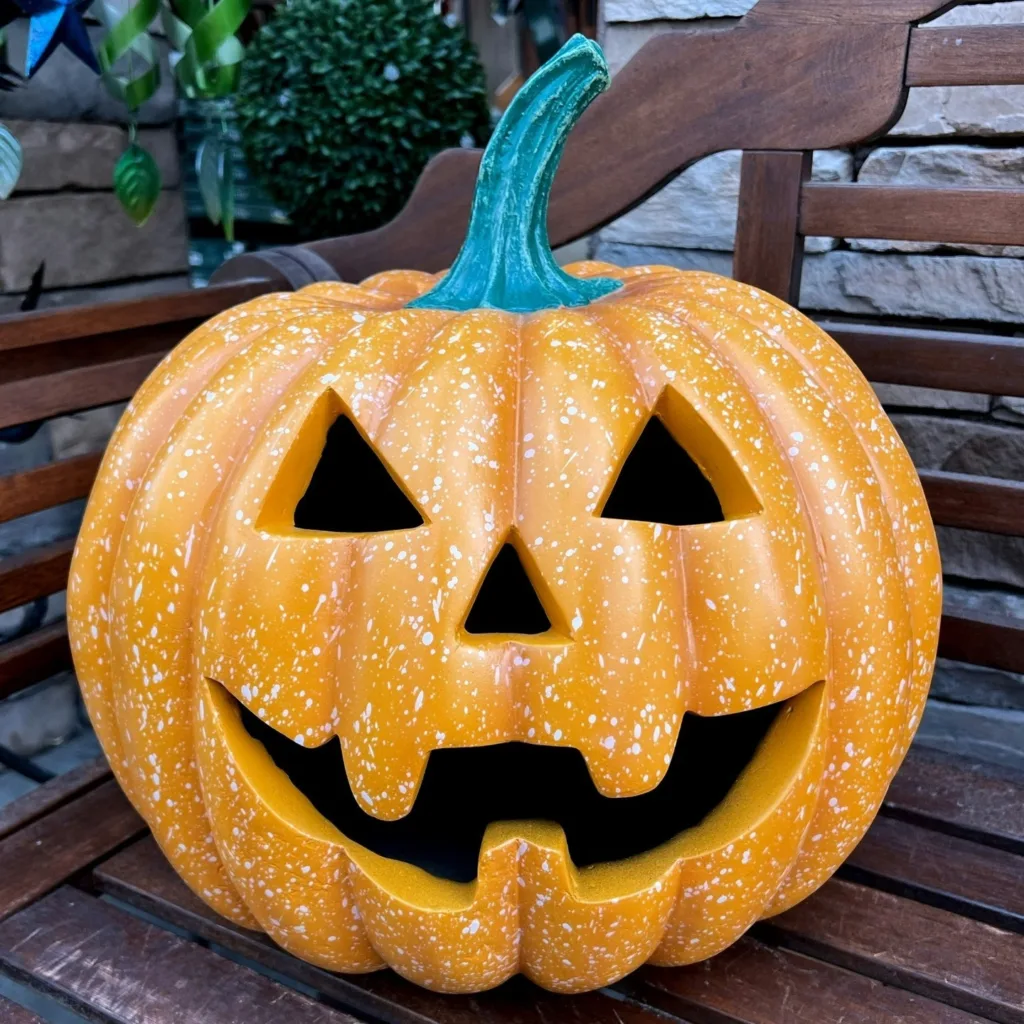
There’s no better way to get kids involved in the process of pumpkin decorating than by painting some good, old-fashioned spooky face on a pumpkin. This timeless activity states what Halloween is all about and is the most straightforward pumpkin decorating style anyone can accomplish.
Here is how you do it:
- Materials needed: Pumpkin, acrylic paints (black, orange, white, and all other colors that you may have), paintbrushes, pencil, and a surface protector.
- Preparing the Pumpkin: Clean the pumpkin surface until it is dry. Use a pencil to draw the desired face design.
- Base Coat: Paint the entire pumpkin with a coat of orange acrylic. When completely dry, you may then continue onto the next step.
- Face Features: Paint in the outline of the eyes, nose and mouth with black paint. It can be simple with triangular eyes and a jagged-tooth grin, or you can get a little more creative with the expression by making it a bit more detailed.
- Add Details: Add additional details like stitches, cracks or warts in white as well with a small brush.
- Highlighting and Shade: Use slightly darker shade of orange to paint around all the features to give depth and dimension on the pumpkin face. Use light shade for raised areas.
- Finishing Touches: If you want, you can paint a stem or add any other embellishments on the pumpkin with special paints or craft.
You should remember that it’s about the simplicity in this classic design, so it’s a perfect activity for a first time.
Don’t be worried about mistake-they will make it look even more interesting;
Elegant Black and White Striped Pumpkins
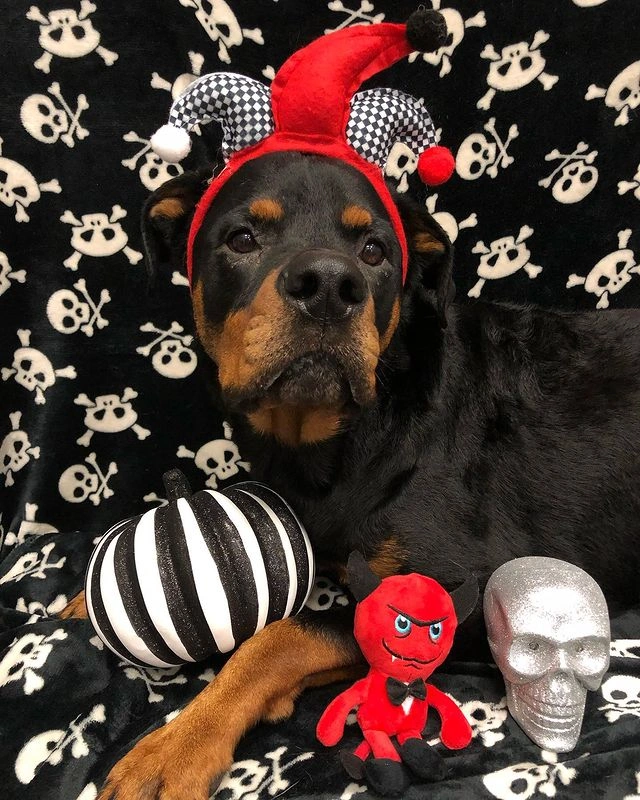
For a glamorous and fashionable pumpkin display, paint the pumpkins with bold black and
white stripes. A monochromatic scheme is perfect for creating a sophisticated Halloween or fall display. The trick to creating clean, crisp lines is proper preparation and the right painting techniques.
Begin by scrubbing and drying your pumpkin clean. Then using a small brush or makeup sponge, coat the entire pumpkin in a whole coat of white acrylic paint. Allow that to dry completely. Using a pencil once the white is dry lightly mark where you want your stripes so they will be evenly spaced.
Paint the stripes in the penciled spaces with good quality black acrylic paint and a small angled brush. Paint in sections of two or three stripes allowing to dry completely before moving on to another. You may also use painter’s tape masking off areas that you do not wish to paint in case you want extra clean lines.
For better dimension and depth, add a couple of stripes with a slightly wider brush or use dry-brushing to give texture. You can play around with different widths of the stripe or add a bit of chevron or diagonal pattern.
Once you have completed your stripes, finish with a clear acrylic sealer to seal in your paint and give your pumpkin a shiny, glossy finish. Show off your hip black and white striped pumpkins on a mantle, entryway table, or as part of a larger Halloween or fall vignette for a fashion-forward touch.
Metallic and Shiny Pumpkin Painting
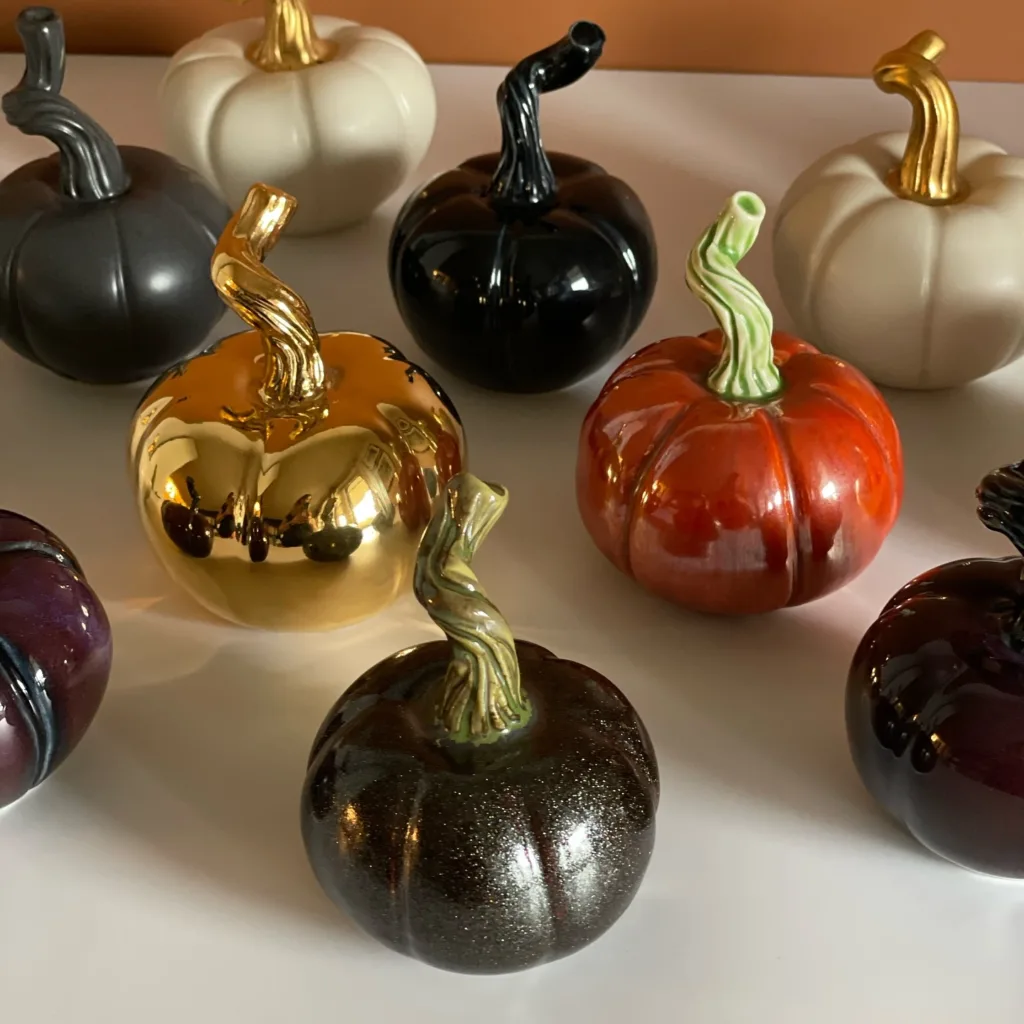
Metallic pumpkins are a trendy stylish way to add some glamour to your Halloween and fall decor. With a sleek shiny finish, these pumpkins give off an elegant vibe that can instantly elevate any space. The best part? Achieving this look is surprisingly easy and requires minimal effort.
Probably the most well-known method for creating metallic pumpkins is via spray paint. From the common gold and silver to more refined rose gold, copper, or antique bronze finishes, metallic sprays come in a wide array of various shades. These paints go on extremely smooth with an incredibly glossy sheen and easily compete with metal in terms of shininess.
Your pumpkin should be clean and dry before you start to paint. Use a damp cloth to wipe the pumpkin surface of dust and debris. Then, after cleaning and getting ready to put paint on, begin spraying in light, even coats. It’s always better to work in good ventilation and observe the recommended rate of application and drying times provided with the products.
For those more practical-minded, metallic acrylic paints are available to produce marvelous metallic pumpkins. The colors are offered in a range of metallic hues and can be painted with brushes or sponges. The basic principle is thin layers, allowing each layer to dry completely before adding the next.
You can also give dimension to your metallic pumpkin by trying some technique, or another. For example, you can distress and antique it by using very light sanding or rubbing over the surface once dried up. Another technique in dry brush work that gives highlighting and lowlighting, just like the metal and its innumerable natural imperfections.
Metallic pumpkins are very striking and versatile. They can be set up as standalone pieces, or they can enhance larger displays and centerpieces. Whether in a gold finish or silver finish, or one of the more unique metallic colors, the pumpkins will add glamour and sophistication to Fall and Halloween celebrations.
Ombre Painted Pumpkins
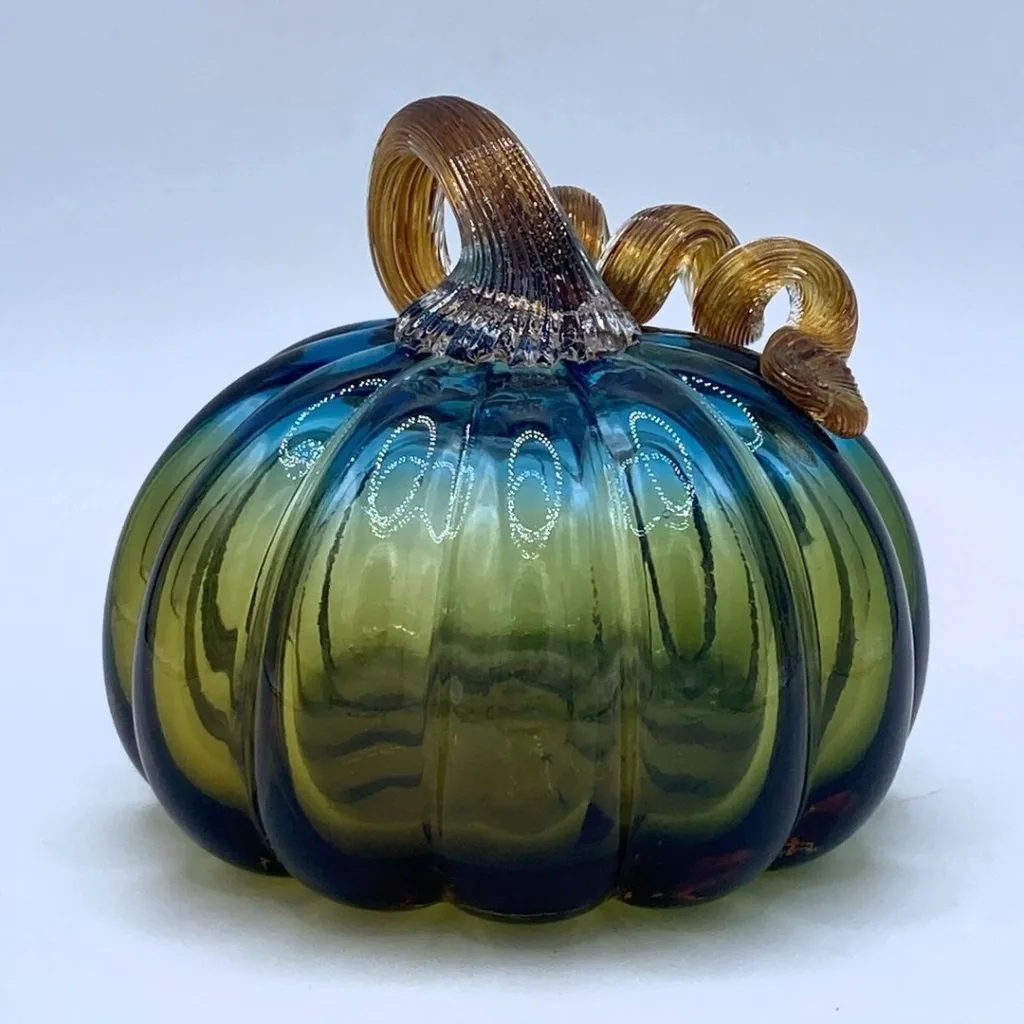
Ombre painting is a very trendy and eye-catching technique that gives beautiful ombre effects on pumpkins. It can be described as a style of creating a smooth transition between two or more colors harmonized, as it produces blending among the shadings. For instance, when you achieve the ombre effect using some other painting methods, you can add chic touches to your decorations on the pumpkins.
The possible colors for your ombre pumpkin can go in an endless number of directions. You might stick with the classic autumn color scheme, like the oranges, reds, and yellows, or try something a little unexpected, like blue, purple, or pink. You might also create a whole monochromatic ombre effect by working different shades of the same color.
A very common way to achieve the ombre effect is by using sponge or brush; this means you start either from the top or from the bottom of the pumpkin with lightest color, gradually blending into darker shades as you work towards the opposite end. The colors have to blend quickly when the paint is still wet for a watertight finish.
Another approach is using spray paint, which can be more subtle and make the gradient even. Spray the lightest color on the pumpkin first, and gradually introduce the darker shades, overlapping the colors as you go. This may demand a steady hand and patience, but the result is stunning indeed.
Of course, with ombre pumpkin realization, you have to take your time in the blending of the colors. Try different kinds of color combinations as well as techniques-try what would best suit your style and preference. With little practice, you’ll be able to create beautiful ombre pumpkins that will be the envy of your neighbors and friends.
Painting Pumpkins with Cartoon Characters
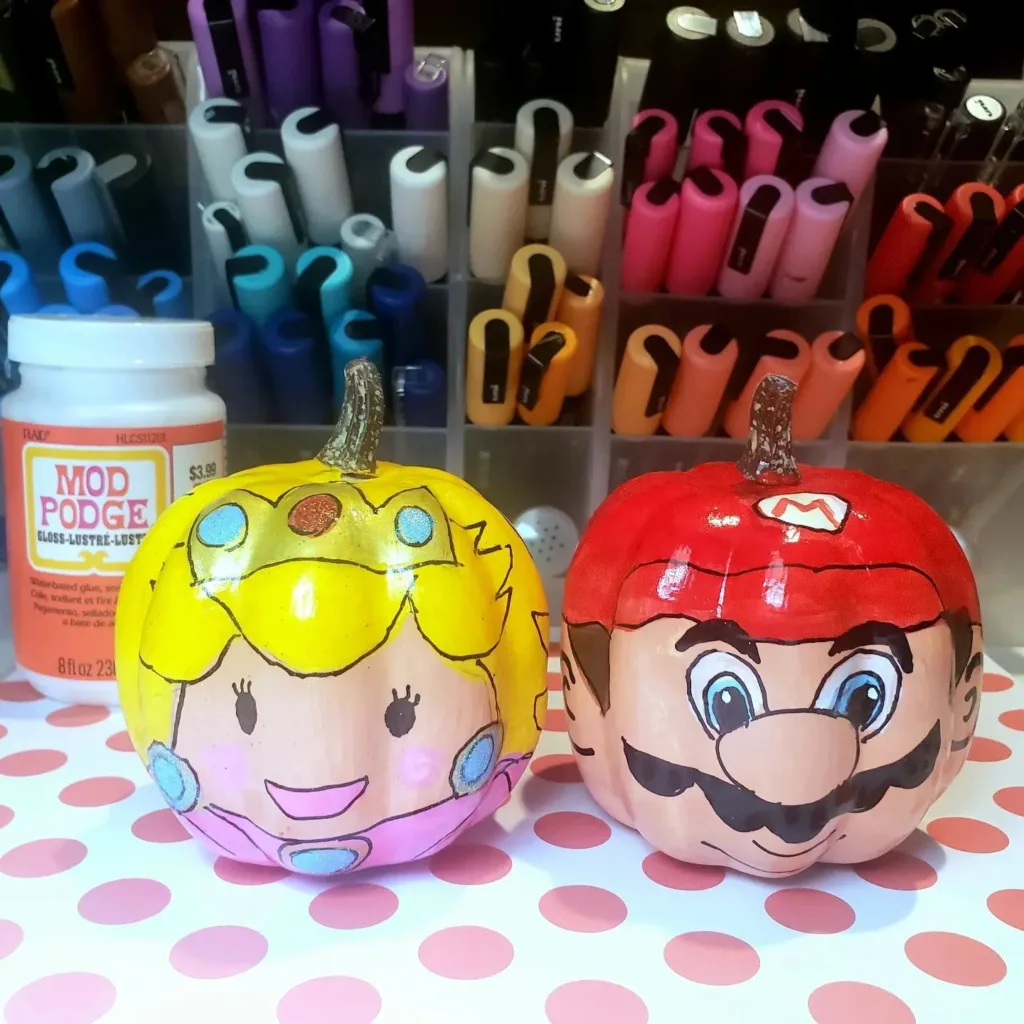
Pumpkin painting is something very fun and creative, which any kid at any age can be benefited with. The best idea is to paint a favourite cartoon character of one’s choice in a pumpkin. In this way, he would not only express his creative side but would also bring that cartoon character to reality in a colorful and festive manner.
All you need to do is collect the materials. For acrylic users, gather a variety of colors and get pencil and paintbrushes, and a reference image of the cartoon character you want to paint. Paper towels or rags would be handy around the corner in case accidents happen.
Start by very lightly drawing the shape of the character on the pumpkin with a pencil. It will help to guide your painting. You can also lightly draw the outline on the pumpkin in front of the younger children, or you can use a stencil to trace.
Once a proper outline is created, it’s time to paint. Encourage your child to use loud, flashy colors in the painting as if really capturing the spirit of the cartoon character. The bigger pieces, such as the body or clothing of the character, should be done first, and then the smallest details, including the face, hair, and accessories.
Remember, the more artsy about pumpkin painting, the more beautiful. Welcome minor mistakes and irregularities – they’re what make the final product so unique and interesting.
If your little one paints a popular figure, like Mickey Mouse, Spongebob Squarepants, or Pikachu, it will be great to provide the child with reference images so that the outline is appropriately captured. Remind the child to pay attention to details such as eye shape, color of clothes, and other identifying marks in the drawing.
For younger children who may not be able to vividly experience things, the painting can be less demanding, but focusing on one significant detail such as a face or a familiar symbol can be quite convenient to easily seize in their mind’s eye.
Let the painting dry and finish with a clear varnish to protect the paint.
Pumpkin painting with cartoon characters is a fun activity and a marvelous way of channeling creativity, hand-eye coordination, and accomplishment in kids. So, get all your supplies, grab hold of these little artists, and let your imagination run wild as you bring your favourite characters to life on these festive gourds.
Animal Faces on Pumpkins
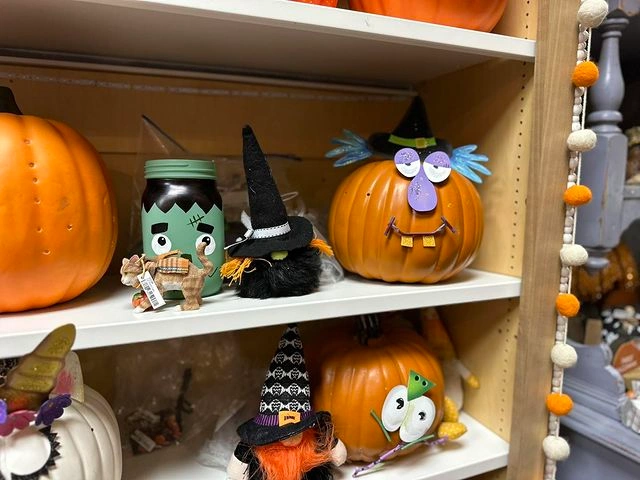
Paint cute animal faces on pumpkins. This is the easy and fun way to make very cute Fall time decorations for children and adults. There are hundreds of possibilities and angles in capturing the essence of your favorite furry friend on a pumpkin canvas, from friendly felines to playful pups.
Begin with obtaining some materials. You will require acrylic paint that can come in various colors; black, white, and different shades of orange, brown, and gray. You also will require different size paintbrushes. You will also require a pencil and a cleaned pumpkin. First, sketch out the outline for the face of your chosen animal on the pumpkin using a pencil. This is what will steer you while drawing your paint.
For a traditional cat face, start with an all-over color; using one solid color such as black or gray, paint the pumpkin. When dry, use a smaller brush for details: whiskers, a triangular nose and almond-shaped eyes. Don’t forget the trademark kitty smile. To create depth in your painting, use a couple different tints of the same color for your facial features.
If you want a puppy dog pumpkin, start with a light brown or tan base coat. Then you add darker shades of brown to paint in a snout, floppy ears, and an adorable button nose. Add white accents for eyes and a playfully wagging tongue hanging out. To give the illusion that your pumpkin has fur, dry brush technique can really add to your realism.
You can add so much creativity to cat and dog faces with accessories like bows, bandanas, or even glasses that add character to your pumpkin pal. Take your time, have some fun, and these animal faces are bound to make a great impression.
Galaxy and Cosmic Pumpkin Painting
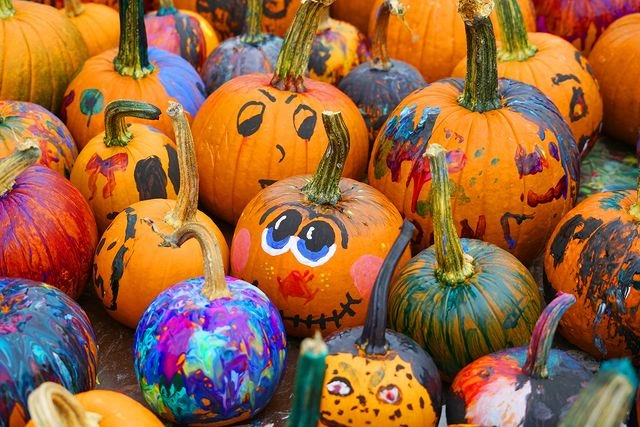
Unlock the artist in you and transform a simple pumpkin into an ethereal art piece by employing the galaxy and cosmic effect painting technique. The technique allows an artist to create bold strokes in vibrant colors that closely resemble the breathtaking beauty of celestial distant galaxies or nebulae.
To achieve this otherworldly look, start by painting your pumpkin with a dark base color, such as black or deep blue. Once the base coat is dry, use a sponge or a crumpled paper towel to dab on shades of purple, pink, and blue in a swirling motion, gradually blending the colors together. For an added touch of realism, incorporate hints of yellow and white to represent the twinkling stars that adorn the cosmic canvas.
You could dry brush your pumpkin to give it an altogether more textural, dimensional effect. Just dip the end of a stiff brush in your paint color and sweep it lightly over the pumpkin-so that the bristles catch-and you get a speckled, starry effect.
Try dripping or splattering paint onto the surface of your pumpkin to produce a representation of the cosmos, but in an abstracted and representational form. Let the outcome be unpredictable because it’s best that your imagination will dictate the appearance of each and every nebula and galaxy.
The beauty in galaxy and cosmic pumpkin painting lies in the expression of the scale of the universe within an otherwise small, humble canvas. So, feel free to let your imagination soar as you design out-of-this-world pumpkin masterpiece.
Modern Geometric Pattern Pumpkins
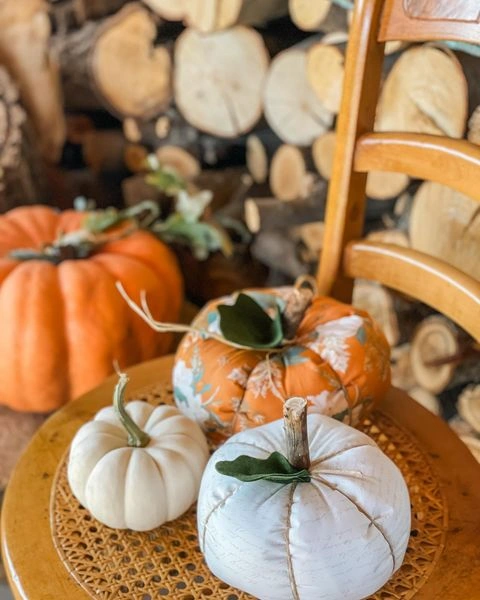
Unlock the minimalist in you and embark on the design trend of geometric shapes with modern geometric pattern pumpkins. The bold, striking creations are ideal for those with clean lines, bold shapes, and a little bit of abstract whimsy.
Start with a pumpkin that is nice and even on the surface. These will then make for the perfect backdrop for your finished geometric marvel. Gather your supplies, including acrylic paints in your desired color palette, and assortment of paintbrushes, and you are ready to begin.
Start by drawing out the literal design using a pencil or chalk. Now, do not hesitate to include triangles, hexagons, diamonds, or any mix thereof according to your fancy. Feel free to play around with various patterns and arrangements until you arrive at the one that suits your taste.
Once you are satisfied with your design, it is time to start painting. If you need to, use a ruler or straight edge to achieve lines as crisp and clean as possible, and be patient with letting each layer of paint dry completely before adding additional colors or shapes.
Black, non-traditional pumpkins that are even more stunning can be combined with contrasting colors or playing around negative space. Imagine white pumpkin with black geometric patterns, and the look is simply striking and modern.
In a way, the aesthetic in geometric patterns is actually simplicity and precision, so take your time to master clean sharp lines and shapes. Don’t be afraid to use tape or stencils for precise lines or patterns.
Once you’ve completed it, use this fantastic piece as the centerpiece or part of your Halloween or fall decorations. What a sure head-turner these geometric-pattern pumpkins with modern taste will be for any person who shares an appreciation with you for the appeal of simplicity and contemporary design.
Paint Fall Foliage on Pumpkins
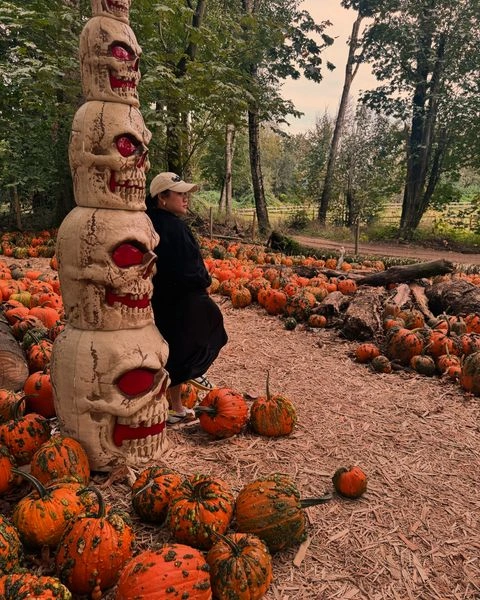
Fall foliage designs on pumpkins can let in the beauty of autumn as if there were no tomorrow. This method involves capturing the warmth and vibrant colors of the fall season to create breathtaking nature-driven decorations.
Acrylic paints will be needed in several varieties of red, orange, yellow, and brown. Paintbrushes will also be needed in several sizes, along with a detail brush that is used for fine details.
Start by using a base color for the pumpkin-whether warm orange or deep red. Once that dries, begin adding leaves and branches, using every shade of paint in the set. Using a small brush, paint intricate veins and details on the leaves.
In order to get a sense of depth and dimension, you can mix red, orange, and yellow together to really make the colors pop. Don’t be afraid to layer colors and mix things up to create a rich, dynamic autumn palette.
Sponging or dry-brushing can create an illusion of movement and depth on the leaves and branches, while creating texture and depth for your painted pumpkin.
You can even use other natural elements within the design, such as acorns, pinecones or even a small bird perched on its branch. These extra details will make the pumpkin unique and make it stand for the essence of the fall season.
Of course, bear in mind the beauty of this technique: its versatility. You can easily have a simple design using just a few leaves or make it a complete intricate, full-fledged piece of autumnal. Let your creativity shine through and embrace the warm cozy feelings that fall foliage evokes.
Day of the Dead Pumpkin Painting
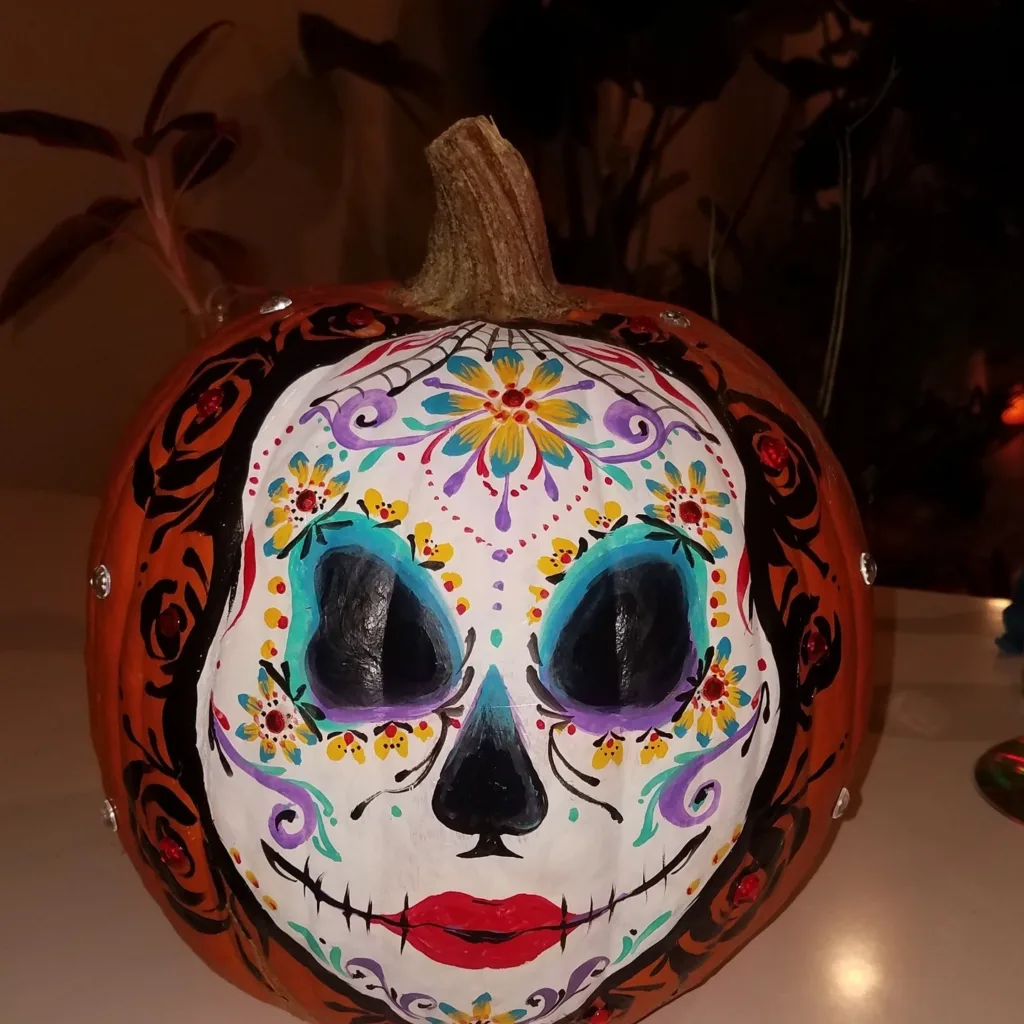
One of the most vibrant and culturally rich pumpkin painting ideas is to be part of the celebration of Día de los Muertos, or Day of the Dead, that is being celebrated every year on November 1st and 2nd in Mexico. Mexicans celebrate their dead with colorful skulls, marigold flowers, and joyous parties.
Begin with the spirit of Día de los Muertos by painting bright, solid colors over the entire surface of your pumpkin; the color, in this case, is purple, pink, or orange. Once dry, sketch in the iconic sugar skull design using a pencil, marking hollow eye sockets, a toothy grin, and intricate patterns across the forehead and cheeks.
Color in the features on the skull in fine detail with contrasting colors of white, black, and metallic gold or silver. Let your imagination run wild and be not afraid to create uniquely crazy patterns – flowers, vines, and geometrics all make for great ideas borrowed from traditional designs.
For even more depth and dimension, sponge or dry brush over the entire pumpkin with a mottled, vintage look. Finally, add painted marigold flowers growing around your masterpiece. This flower represents death in Mexican culture, but as part of your composition, it showcases their customary reverence for the deceased.
When you stand your Día de los Muertos pumpkin amidst its fall foliage and lit candles, it will be an haunting tribute to this rich tradition honoring the dead.
Preparing and Priming Pumpkins
Properly preparing and priming your pumpkin is an essential step for ensuring your painted design looks its best and lasts as long as possible. Before you begin painting, it’s important to clean the pumpkin’s surface thoroughly to remove any dirt, debris, or residue that could interfere with the paint’s adhesion.
Start by washing the pumpkin with a mild soap and water solution, using a gentle scrub brush or sponge to remove any stubborn spots or blemishes. Rinse the pumpkin thoroughly and allow it to dry completely before moving on to the priming stage.
Once the pumpkin is clean and dry, you’ll want to apply a primer or sealant to the surface. This will help the paint adhere better and prevent it from soaking into the pumpkin’s porous skin. There are a few options to consider:
- Gesso: This acrylic-based primer is commonly used in painting and can provide a smooth, even base for your pumpkin design. Apply one or two coats of gesso, allowing each coat to dry completely before adding the next.
- Mod Podge: This versatile decoupage medium can act as both a primer and a sealant. Apply a thin layer of Mod Podge to the pumpkin’s surface, allowing it to dry completely before painting.
- Spray Primer: For a quick and easy option, consider using a spray primer designed for use on various surfaces, including pumpkins. Follow the manufacturer’s instructions for proper application and drying times.
Whichever primer or sealant you choose, make sure to apply it evenly across the entire surface of the pumpkin. This will ensure that your painted design looks consistent and vibrant from every angle.
Painting Tools and Supplies Needed
To get started with your pumpkin painting projects, you’ll need a few essential tools and supplies. First and foremost, you’ll want to gather different types of paint suitable for use on pumpkins. Acrylic craft paints are a popular choice as they adhere well to the pumpkin’s surface and come in a wide range of colors. Spray paints, especially those formulated for outdoor use, can also be used to achieve unique effects like metallic or distressed looks.
In addition to paints, you’ll need a variety of brushes. For detailed work and outlines, fine-tipped brushes are ideal, while larger brushes can be used for covering larger areas or creating backgrounds. Sponge brushes can also be handy for achieving textured or stippled effects.
If you’re looking to create intricate designs or patterns, consider using stencils or pre-made patterns. These can be purchased or even made at home using cardstock or contact paper. Stencils not only make it easier to achieve consistent and precise designs but also allow you to easily replicate patterns across multiple pumpkins.
Other materials that can come in handy include pencils or chalk for sketching out designs, painter’s tape for creating clean lines or sections, and a palette or paper plates for mixing colors. You may also want to have some newspaper or a drop cloth on hand to protect your work surface from any spills or splatters.
Remember, when it comes to pumpkin painting, the possibilities are endless! Don’t be afraid to experiment with different tools and techniques to create truly unique and personalized designs.
Conclusion and Call-to-Action
Pumpkin painting is a fun and creative way to celebrate the fall season and Halloween. From classic spooky faces to modern metallic designs, there’s a pumpkin painting idea for everyone in this guide. We’ve covered a variety of techniques and styles, suitable for both kids and adults, beginners and experienced crafters alike.
Now it’s your turn to get creative and try out some of these pumpkin painting ideas. Don’t be afraid to experiment and put your own unique spin on these designs. Whether you’re decorating for a party, creating a festive centerpiece, or simply looking for a fun weekend project, painted pumpkins are sure to add a touch of whimsy and personality to your fall decor.
Once you’ve created your masterpiece, we encourage you to share your painted pumpkin creations on social media using the hashtag #PumpkinPaintingIdeas. Tag us and inspire others with your artistic talents!
Also, be sure to subscribe to our newsletter to stay updated on more holiday craft ideas and DIY projects. And if you need any painting supplies or want to try out a pumpkin painting kit, visit our online store for all your crafting needs.
Happy painting, and have a spooktacular Halloween!

Hi, I’m Ivy, and I dumpster dive a lot! I’ve been diving for 10 years now & I’ve been able to reduce my carbon footprint so much. I live off what I dive, and I usually donate a couple hundred pounds of food per month to my local food pantry.
Long term, I plan on opening my own food pantry in Florida. This way I will be able to help those in need to get not only the food they need but the healthy fresh food they need, which most food pantries don’t/can’t give away.
