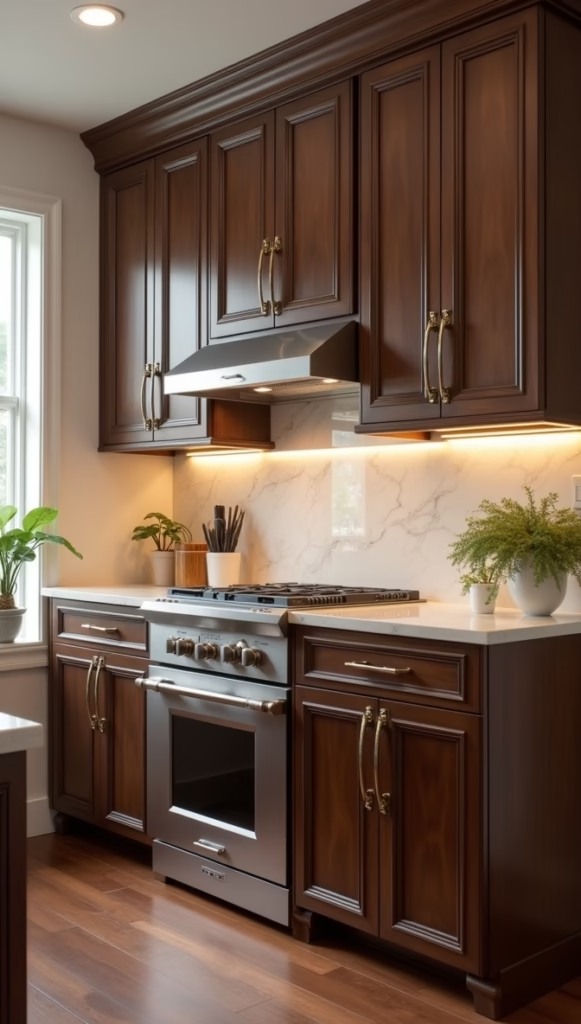
Painting your kitchen cabinets is one of the most cost-effective ways to transform your kitchen without a full renovation. With the right tools, materials, and techniques, you can achieve a professional-looking finish that breathes new life into your space.
In this guide, we’ll walk you through the entire process of how to paint kitchen cabinets—from preparation to the final coat—to ensure your painted cabinets look stunning and last for years.
Why Paint Kitchen Cabinets?
Before diving into the process, let’s look at why painting cabinets is a great option:
- Affordable – Much cheaper than replacing cabinets.
- Customizable – Choose any color to match your kitchen’s style.
- Eco-Friendly – Reduces waste by refinishing instead of replacing.
- Quick Update – A fresh coat of paint can modernize outdated cabinets in just a few days.
Materials & Tools You’ll Need
Supplies:
- Degreaser or TSP (Trisodium Phosphate)
- Sandpaper (120-grit and 220-grit)
- Painter’s tape
- Drop cloths or plastic sheeting
- Tack cloth or microfiber rag
- Wood filler (if repairing dents or scratches)
- Primer (oil-based or shellac-based for best adhesion)
- Cabinet paint (acrylic latex or enamel for durability)
- Paintbrushes (angled sash brush for edges)
- Mini foam roller or high-density foam roller for smooth finish
- Screwdriver (to remove hardware and doors)
- Paint sprayer (optional for a factory-like finish)
Step-by-Step Guide to Painting Kitchen Cabinets
Step 1: Remove Cabinet Doors, Drawers, and Hardware
- Use a screwdriver to remove hinges, knobs, and pulls.
- Label each door and drawer with painter’s tape (e.g., “Upper Left 1”) to ensure easy reassembly.
- Store screws and hardware in labeled bags.
Step 2: Clean Cabinets Thoroughly
- Grease and grime prevent paint from adhering properly.
- Use a degreaser or TSP solution to scrub all surfaces.
- Rinse with clean water and let dry completely.
Step 3: Repair Damaged Areas
- Fill dents, scratches, or holes with wood filler.
- Sand smooth once dry.
- Lightly sand all surfaces with 120-grit sandpaper to help primer adhere.
Step 4: Sand for Better Adhesion
- Sand all surfaces (doors, frames, drawers) with 120-grit sandpaper.
- Wipe away dust with a tack cloth or damp microfiber rag.
Step 5: Apply Primer
- Use a high-quality primer (oil-based or shellac for best results).
- Apply with a brush on edges and a roller on flat surfaces.
- Let dry completely (follow manufacturer’s instructions).
- Lightly sand with 220-grit sandpaper for a smooth base.
Step 6: Paint the Cabinets
- Choose the right paint: Semi-gloss or satin enamel is durable and easy to clean.
- Technique:
- Use a brush for edges and corners.
- Use a foam roller for smooth, even coverage on flat surfaces.
- Apply thin coats to avoid drips (2-3 coats recommended).
- Let each coat dry completely before reapplying.
Step 7: Reassemble Cabinets
- Once fully dry (wait at least 24-48 hours), reattach doors and hardware.
- Adjust hinges if needed for proper alignment.
Pro Tips for a Flawless Finish
✔ Work in a Dust-Free Area – Keep windows closed and minimize movement to prevent dust settling on wet paint.
✔ Use a Paint Sprayer for a Smooth Finish – If you want a factory-like finish, a sprayer provides the most even coat (practice on scrap wood first).
✔ Consider Adding a Topcoat – A clear polyurethane topcoat can add extra durability, especially for high-traffic kitchens.
✔ Allow Proper Drying Time – Rushing the process can lead to smudges or premature wear.
How Long Do Painted Cabinets Last?
With proper prep and high-quality paint, your cabinets can last 5-10 years before needing a touch-up. To extend their lifespan:
- Avoid harsh cleaners (use mild soap and water).
- Fix chips or scratches promptly.
Final Thoughts
Painting kitchen cabinets is a rewarding DIY project that can dramatically improve your kitchen’s appearance. By following these steps—proper cleaning, sanding, priming, and painting—you’ll achieve a professional-grade finish that revitalizes your space without the cost of a full remodel.
Ready to transform your kitchen? Gather your supplies, take your time, and enjoy the stunning results!

Haris Virk is the creative force and expert content strategist behind ScrapSafari.com. As an accomplished writer and designer, Haris leads the development of innovative content and visually stunning images that captivate audiences. His extensive experience in crafting engaging articles and unique design ideas makes him a pivotal contributor to ScrapSafari’s success.
Haris’s keen eye for aesthetics and trend forecasting ensures that every piece he produces not only informs but also inspires readers. His proficiency extends to mastering Pinterest strategies, where his thoughtfully crafted pins drive significant traffic and amplify the site’s reach.
With a passion for creativity and a deep understanding of content dynamics, Haris Virk brings a distinctive blend of originality and strategic thinking to the ScrapSafari team, solidifying its place as a go-to source for design, ideas, and inspiration.


