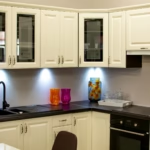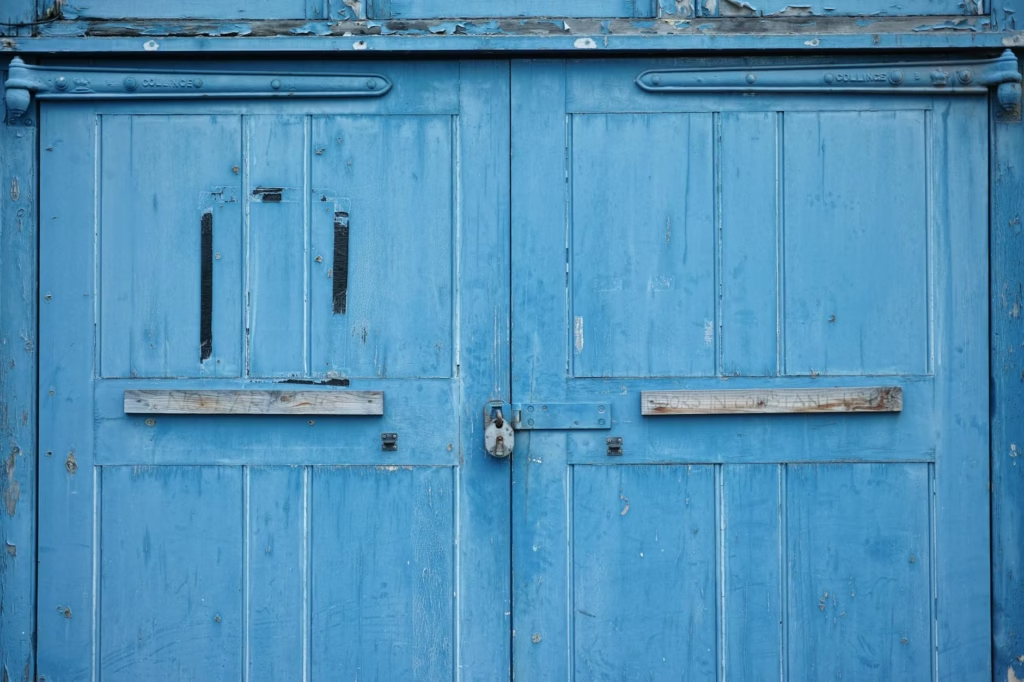
Panel doors can be a standout element in your home’s décor when refreshed with a new coat of paint. Whether you’re updating your interior style or simply giving your space a facelift, this guide explains every detail you need to know. We’ll cover essential tools, techniques, and tips on How To Paint Panel Doors and achieve a flawless finish that will last for years.
Why Paint Panel Doors?
Panel doors are a classic element in many homes, but over time they can show wear and become outdated. Painting your doors not only gives them a fresh look but also:
- Enhances your home’s style: A new color can make your interior pop.
- Protects the wood: High-quality paint acts as a sealant against moisture and damage.
- Increases property value: Small updates, like painted doors, contribute to a well-maintained home.
By following our guide on How To Paint Panel Doors, you can achieve a professional finish that revitalizes your space.
Materials and Tools Needed
Before you start, gather all the necessary supplies. Using the right materials is crucial for a smooth and durable finish.
- Paint: Choose a high-quality interior latex or oil-based paint suitable for wood surfaces. Consider a primer if you’re working with raw or heavily stained wood.
- Primer: A bonding primer helps the paint adhere better to the door’s surface.
- Sandpaper: Use medium-grit (120- to 150-grit) sandpaper for initial sanding and fine-grit (220-grit) for smoothing before painting.
- Paintbrushes and Rollers: A combination of brushes for detail work and rollers for larger flat areas will ensure even coverage.
- Painter’s Tape: Protect the edges and trim by masking off areas you don’t want to paint.
- Drop Cloths or Old Sheets: To protect floors and surrounding furniture.
- Screwdriver: For removing the door hardware, if necessary.
- Cleaning Supplies: Mild detergent, water, and a lint-free cloth for cleaning dust and grease.
These tools and materials set the stage for a smooth, professional finish.
Preparation Steps
Proper preparation is key when learning How To Paint Panel Doors. Skipping this step can lead to peeling paint and uneven surfaces.
1. Remove the Door (Optional)
- Why Remove? Removing the door from its hinges allows you to work on a flat, stable surface, and it prevents accidental drips on the floor.
- How: Use a screwdriver or drill to remove the hinge pins carefully. Place the door on a pair of sawhorses or a stable workbench.
2. Clean the Surface
- Dust and Grease: Use a mild detergent mixed with water to clean the door thoroughly. Wipe down with a lint-free cloth to remove all dirt and grease.
- Dry: Ensure the door is completely dry before proceeding.
3. Remove Hardware
- Handles and Locks: Remove or cover any hardware. Removing handles, locks, and any decorative moldings will provide a cleaner edge when painting.
- Labeling: Keep all screws and small hardware items in a safe container, and label them for easy reinstallation.
4. Sanding
- Rough Surface: Start with medium-grit sandpaper to gently scuff the surface. This step helps the primer and paint adhere better.
- Smooth Finish: Switch to fine-grit sandpaper to smooth out the wood, especially in areas with intricate panel details.
- Clean Again: After sanding, remove all dust using a tack cloth or vacuum with a brush attachment.
5. Taping Off Areas
- Edge Protection: Use painter’s tape to mask off areas you don’t want to paint. This includes edges around glass panels or intricate moldings.
- Precision: Ensure the tape is pressed down firmly to avoid bleed-through.
Painting Techniques and Tips
Now that your door is prepped, it’s time to learn How To Paint Panel Doors like a pro.
1. Priming the Door
- Apply a Primer: Using a high-quality primer creates a solid base for your paint. This is especially important if your door is stained or previously painted.
- Drying Time: Allow the primer to dry completely, as per the manufacturer’s instructions, before applying the topcoat.
2. Choosing the Right Paint
- Latex vs. Oil-Based: Latex paints are easier to clean up and have lower VOCs, while oil-based paints are durable and provide a smooth finish. Your choice may depend on the look you want and your comfort level with cleanup.
- Finish: Consider a semi-gloss or satin finish for durability and ease of cleaning, especially for high-traffic areas.
3. Painting Method
- Brush Technique: Use a good quality brush to cut in around the panels and edges. Long, smooth strokes will help avoid brush marks.
- Roller Application: For the flat surfaces, use a foam roller or a short-nap roller. Roll in the direction of the wood grain for even coverage.
- Multiple Coats: Applying two to three thin coats is better than one thick coat. Thin layers dry faster and reduce the risk of drips and uneven spots.
- Drying Time: Allow each coat to dry completely before applying the next. Follow the paint manufacturer’s recommendations for drying times.
4. Detailing and Touch-Ups
- Inspect: After the final coat, examine the door for any missed spots or uneven areas.
- Small Brushes: Use a small artist’s brush for any necessary touch-ups, especially in intricate panel areas.
Troubleshooting Common Issues
Even with careful preparation, you might encounter a few common challenges. Here are some tips to address them:
- Drips and Runs: If you notice any drips, smooth them out immediately with your brush or roller while the paint is still wet.
- Uneven Coverage: Sand lightly between coats if you see any bumps or uneven textures.
- Tape Marks: If the painter’s tape leaves edges, carefully trim them with a sharp utility knife once the paint is dry.
- Peeling Paint: This is usually due to inadequate surface preparation. Make sure you thoroughly sand and clean the door before painting.
Finishing Touches
After your final coat of paint has dried, follow these steps to complete the process:
1. Remove Painter’s Tape
- Slow and Steady: Remove the tape slowly to avoid peeling off any paint. Pull it at a 45-degree angle for the cleanest line.
2. Reattach Hardware
- Careful Installation: Once the door is completely dry (usually after 24 hours), reattach the hardware. If you removed the door, carefully remount it on the hinges.
3. Clean Up
- Brushes and Rollers: Clean your brushes and rollers with the appropriate solvent (water for latex paint, mineral spirits for oil-based paints).
- Dispose of Waste Properly: Dispose of any used materials according to your local regulations.
4. Final Inspection
- Touch Up: After reassembly, inspect the door from different angles and in various lighting. Make any minor touch-ups as needed.
Video Tutorial
For a visual guide on How To Paint Panel Doors, watch the YouTube video below. This step-by-step tutorial complements the detailed instructions in this article and provides practical demonstrations of each stage:
Final Thoughts
Refreshing your home doesn’t always require major renovations. Learning How To Paint Panel Doors is a practical and cost-effective way to rejuvenate your living space. By following these detailed steps—from meticulous preparation and priming to careful application and final touches—you can achieve a durable, professional finish that transforms your doors into beautiful focal points.
Remember, patience and precision are key. Take your time during the preparation and painting stages, and don’t rush the drying times. Enjoy the process and the transformation it brings to your home!

Haris Virk is the creative force and expert content strategist behind ScrapSafari.com. As an accomplished writer and designer, Haris leads the development of innovative content and visually stunning images that captivate audiences. His extensive experience in crafting engaging articles and unique design ideas makes him a pivotal contributor to ScrapSafari’s success.
Haris’s keen eye for aesthetics and trend forecasting ensures that every piece he produces not only informs but also inspires readers. His proficiency extends to mastering Pinterest strategies, where his thoughtfully crafted pins drive significant traffic and amplify the site’s reach.
With a passion for creativity and a deep understanding of content dynamics, Haris Virk brings a distinctive blend of originality and strategic thinking to the ScrapSafari team, solidifying its place as a go-to source for design, ideas, and inspiration.